Kotlin Conference Nov 2-3 at San Francisco


KotlinConf is just around the corner, and if you haven’t checked out the great speaker line-up and sessions, you might want to do that now! We’ve got two days jam-packed with content around Kotlin, whether you’re doing mobile, desktop, server-side or web front-end development, there are lots of talks for you.


Schedule for the workshop:


9:00 am - 5:00 pm
Kotlin Workshop for Java Developers.
Svetlana Isakova
Max capacity 50

Oreo: Auto-sizing Textview in Android Studio using Kotlin


Android 8.0 (API level 26) allows you to instruct a TextView to let the text size expand or contract automatically to fill its layout based on the TextView's characteristics and boundaries. This setting makes it easier to optimize the text size on different screens with dynamic content.

First important part to enable auto sizing textview, put this in textview:

android:autoSizeTextType="uniform"

This can explore the vertically and horizontally, ignoring text size.

If you are using support library make sure you have to use:

xmlns:app="http://schemas.android.com/apk/res-auto"

You can not use wrap content both layout height and width, because that may produce unexpected result, instead match parent or fix size. 

You can use either framework or support library to set up the autosizing of TextView programmatically or in XML. To set the XML attributes, you can also use the Properties window in Android Studio.
There are three ways you can set up the autosizing of TextView:


Note: If you set autosizing in an XML file, it is not recommended to use the value "wrap_content" for the layout_width or layout_height attributes of a TextView. It may produce unexpected results.

Now, if you are using from xml, the do following :


If you want make from programmatically then do this:


Here are array inside the values/arrays.xml, please make sure name should be same as in textview properties.


Here is the simple output that looking like:
Clone/Download/Fork/Star Full Source Code From github

Source:  Developer.android.com
#ILoveKotlin #PrAndroid #KotlinTutorials #AndroidTutorials

Robolectric example in Android using kotlin


Robolectric is a unit test framework that de-fangs the Android SDK jar so you can test-drive the development of your Android app. Tests run inside the JVM on your workstation in
seconds. Robolectric help to make more efficient unit test.

Here are example how to test android code using robolectric.

First you have to add dependencies in app.gradle file,just like that as your latest robolectric version

testImplementation "org.robolectric:robolectric:3.3.2"

Now you have to write code in test file in unit testing section not in ui testing,


Then, Now you have add some kotlin code,


In Second kotlin code, which is pass some value from on activity one activity to another activity,


Rest of the layout file as your requirement, but you want to details, please see below git hub link
Run as test runner,

the you have to see, test will be passed.

Download and fork git hub code: https://github.com/dharmakshetri/RoboelectricKotlinExample

#HappyCoding #Kotlin #Robolectric #Android

Udacity: Self-Driving Cars Scholarship Program


Lyft and Udacity share a commitment to preparing for an autonomous future where technologies like self-driving cars will benefit our cities, our environment, and our lives. We are committed to making that future more accessible to all—through education programs, open platforms, and now scholarships. This scholarship program is dedicated to increasing diversity in the field of self-driving cars, and helping you take that first step to becoming a self-driving car engineer.       


How to apply

This scholarship program is open to learners with varying levels of experience, currently living in the U.S., who are eager to pursue a career in self-driving cars.
  • September 19, 2017 - Applications open
  • October 1, 2017 - Applications close (11:59pm PST)
  • October 5, 2017 - Winners announced


#Udacity #SelfDrivingCar
      All the resources and content taken from: udacity.com

Display iframe video and graph inside the webview in kotlin

A View that displays web pages. This class is the basis upon which you can roll your own web
browser or simply display some online content within your Activity. It uses the WebKit rendering engine to display web pages and includes methods to navigate forward and backward through a history, zoom in and out, perform text searches and more.


Note that, in order for your Activity to access the Internet and load web pages in a WebView, you must add the INTERNET permissions to your Android Manifest file:


<uses-permission android:name="android.permission.INTERNET" />
This must be a child of the <manifest> element.
Define the webview respective webSetting an its java script enable.

and iframe source 


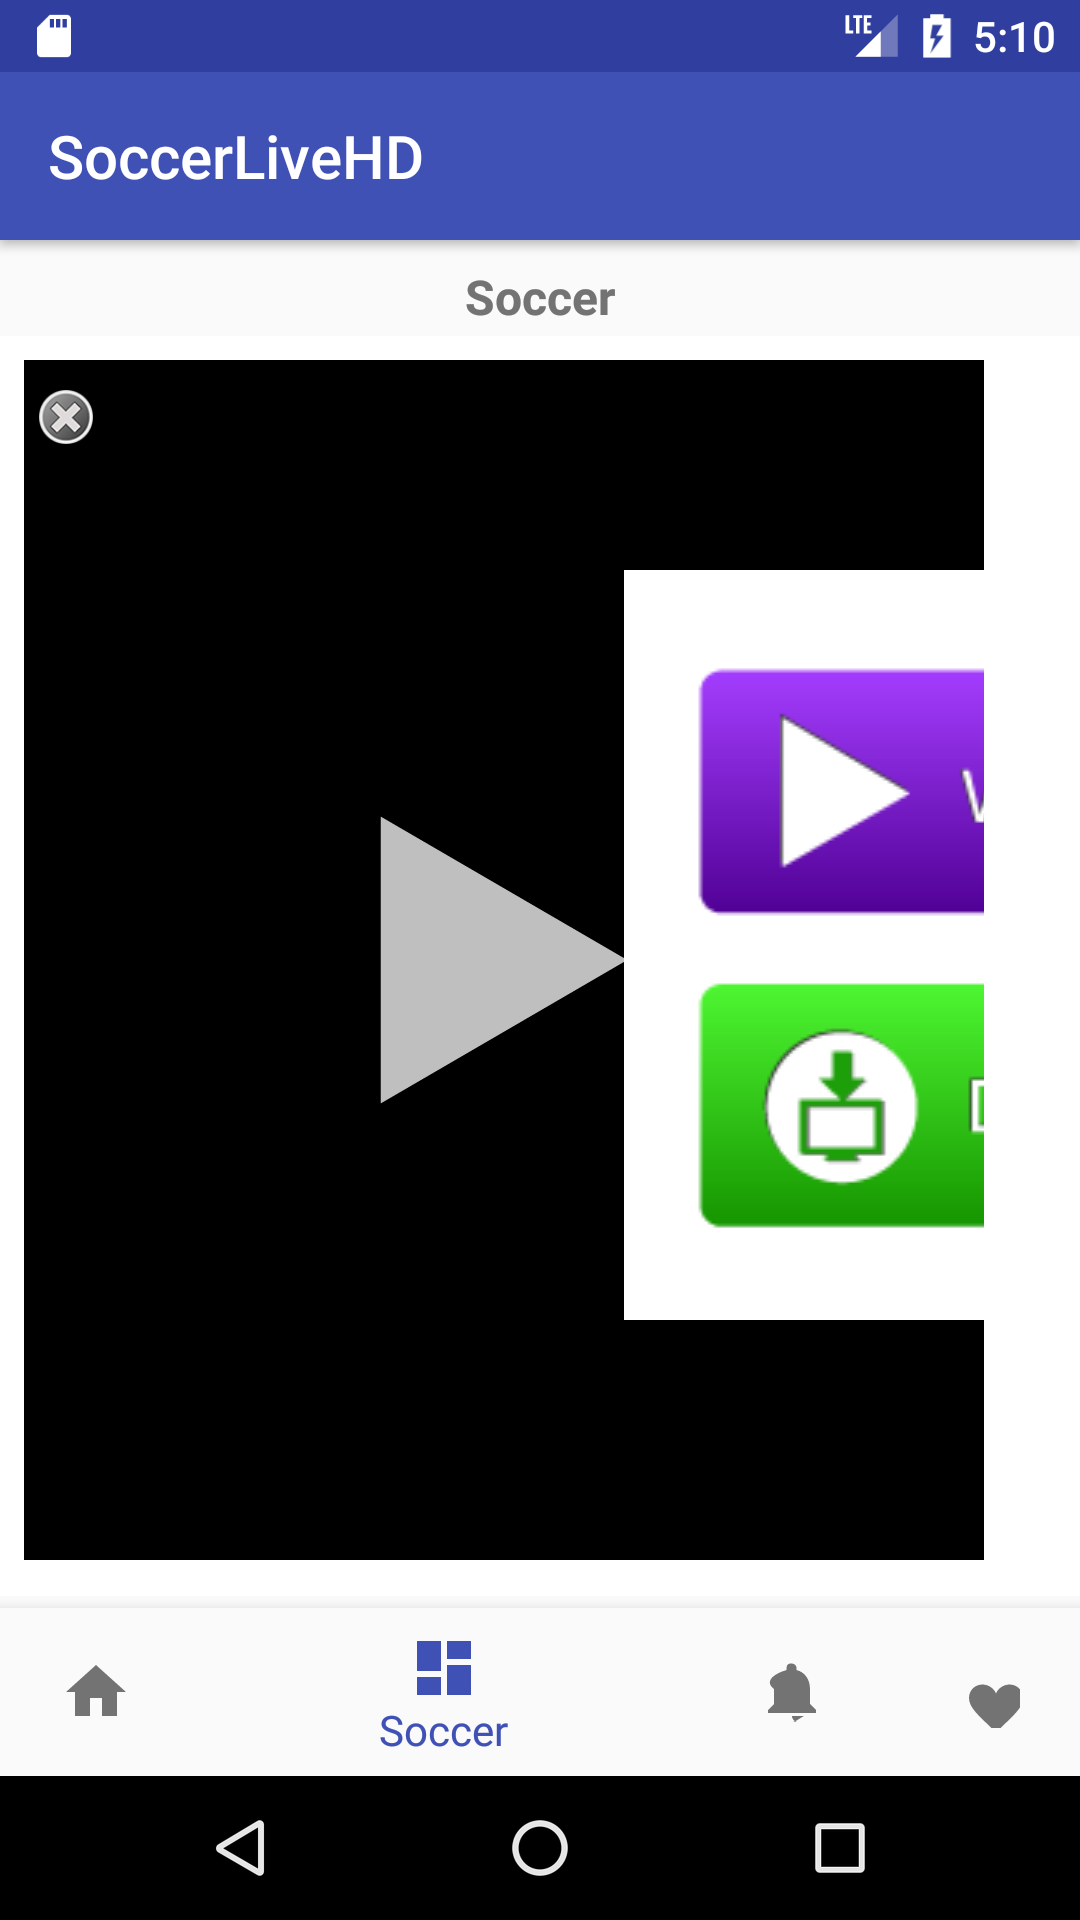
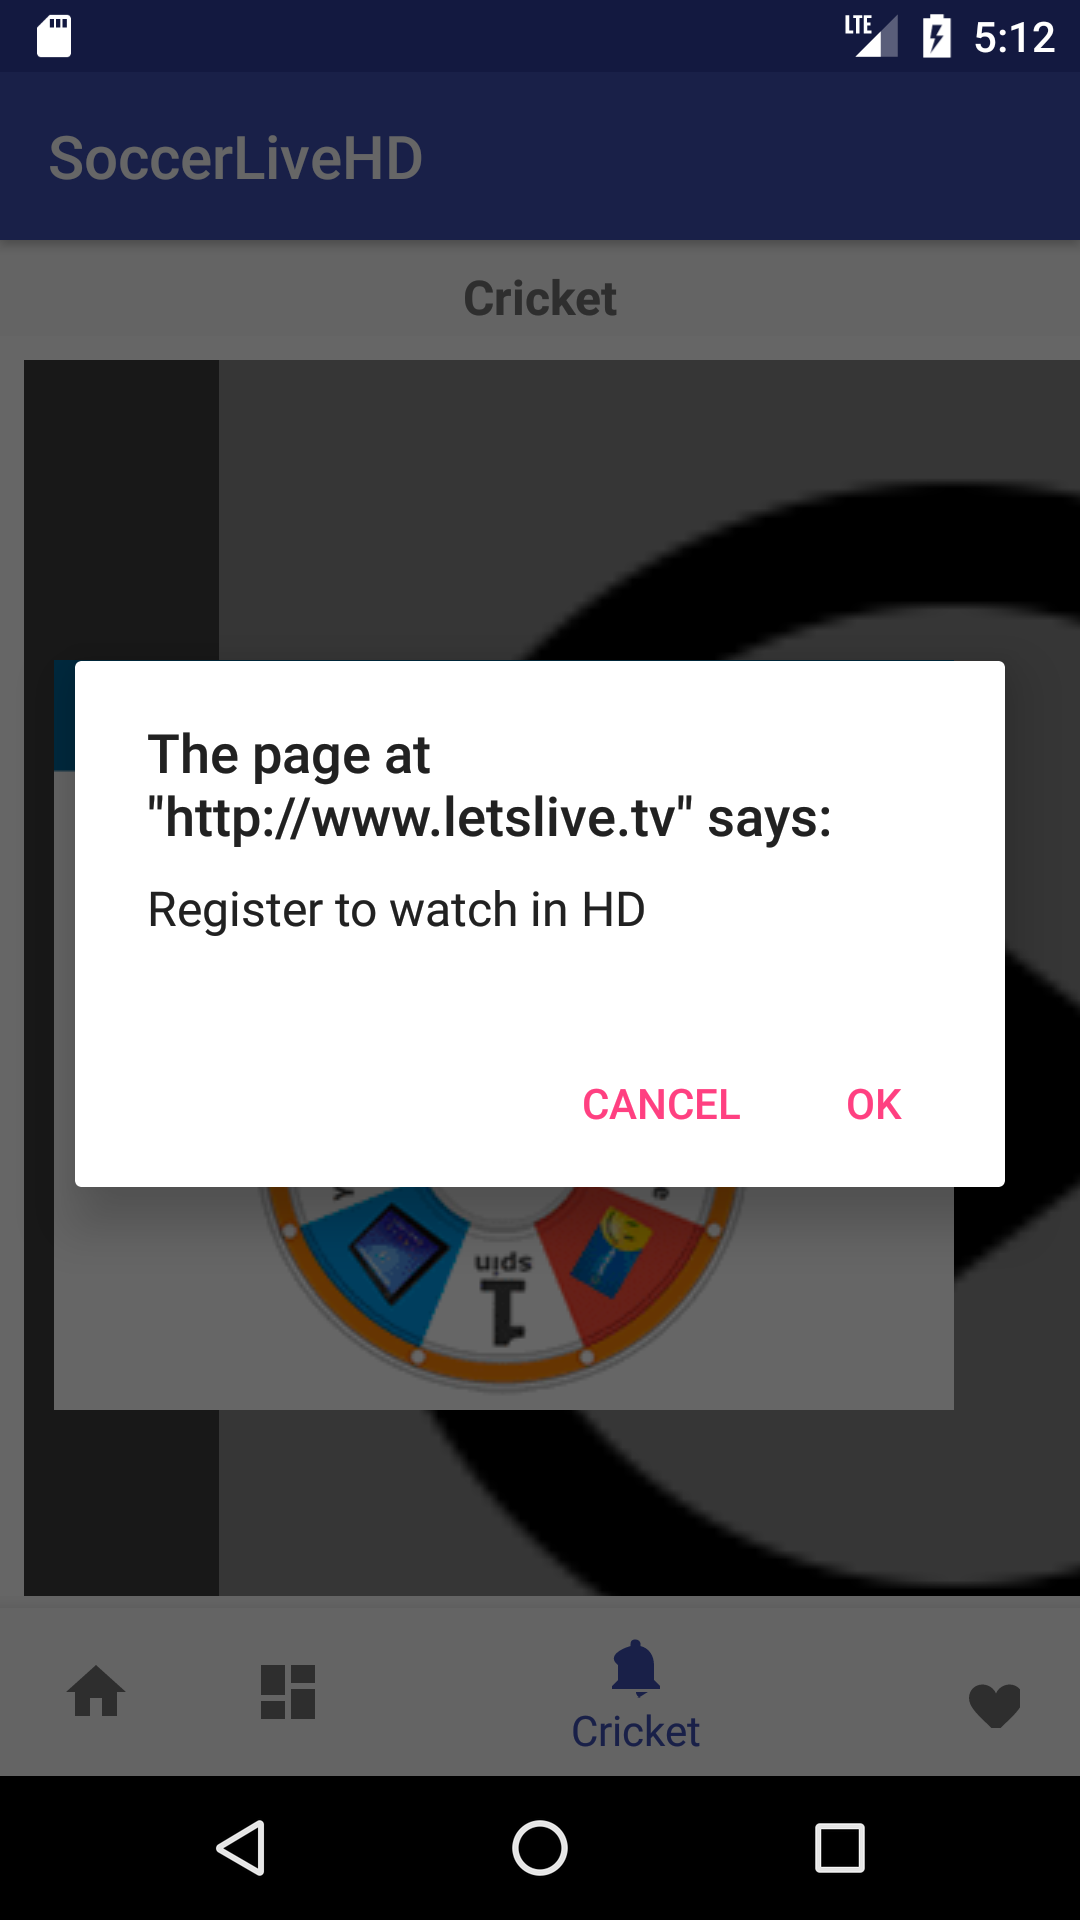
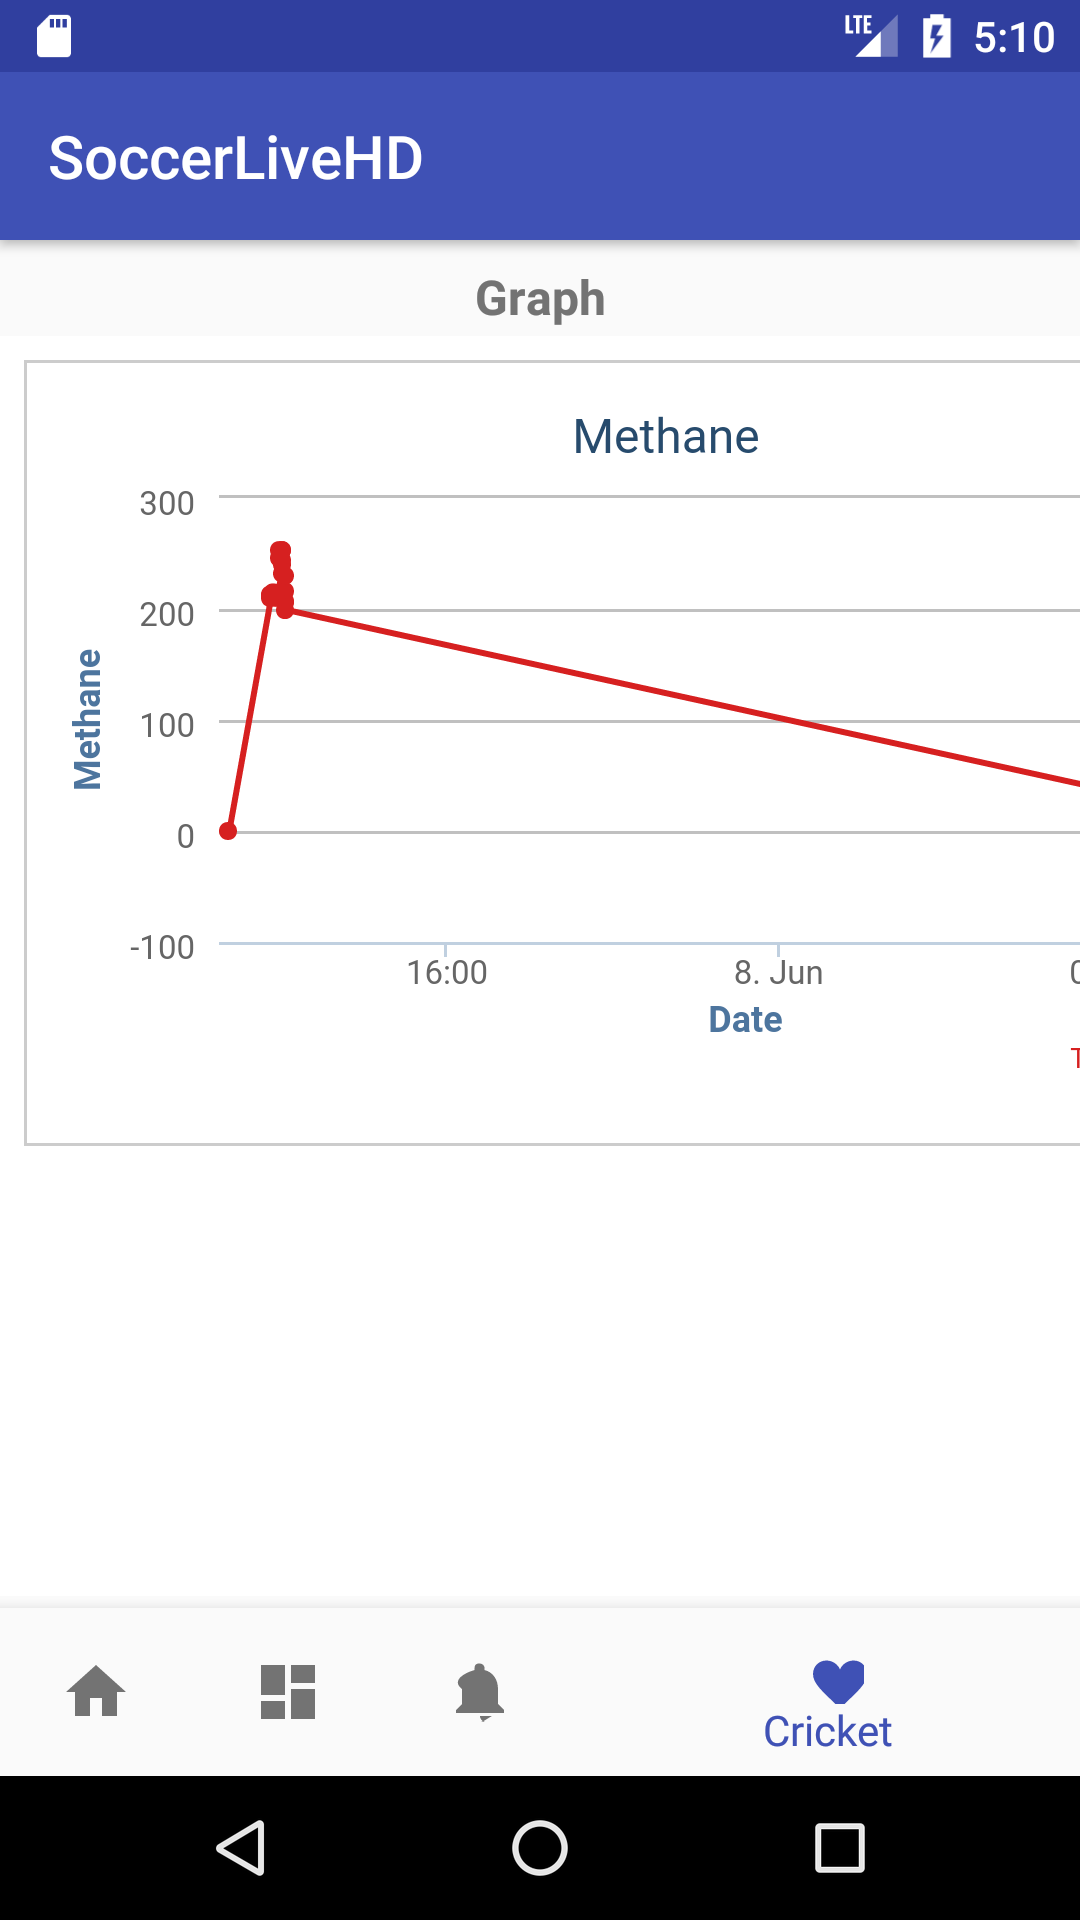
Output looks like:


#HappyCoding #ILoveKotlin #PrAndroid
Download and fork full source code: https://github.com/dharmakshetri/IFrameVideo

Advanced Multi Threading in Java [ Latch ]

CountDown latch is one of the kinds of synchronizer which wait for another thread before performing the tasks or This is used to synchronize one or more tasks by enabling them to wait for the tasks completed by other tasks.  It was introduced in Java 5 along with other CyclicBarrier, Semaphore, CuncurrentHashMap and BlockingQueue. Its somehow like the wait and notify but in the more simpler form and will much less code.

It basically works in the latch principle. Or let us suppose we have a seller who is going to sell 10 (No. of operations) apples. The number of customers may be anything but what the seller is concerned about is the number of apples because when it reaches to 0 he can go home. The seller(Main Thread) will wait for the customers (awaits()). Let's say there are 10 customers(Threads) now who are in the line to buy Apple. When one customer buys that Apple then the number of apple decrease by 1 (countdown()) and another customer will get a chance to buy that apple so on the number of apples goes on decreases and finally become 0. After no apples left in the bucket, the seller can stop selling and go home happily. 

Note:: In CountDown Latch the countdown cannot be reset. 

Let's have a look at Java code::

package com.latch;

import java.util.Random;
import java.util.concurrent.CountDownLatch;
import java.util.concurrent.ExecutorService;
import java.util.concurrent.Executors;

/**
 * Created by yubraj on 1/16/17.
 */


public class latch {

 public static void main(String[] args) {
  ExecutorService executorService = Executors.newSingleThreadExecutor();
  CountDownLatch countDownLatch = new CountDownLatch(5);

  for (int i = 0; i < 5; i++)
   executorService.execute(new Worker(i, countDownLatch));

  try {
   countDownLatch.await();
  } catch (InterruptedException e) {
   e.printStackTrace();
  }

  System.out.println("All the prerequities are done now the application is ready to run yuppy!!!");
  executorService.shutdown();

 }

}

class Worker implements Runnable {
 private int id;
 private CountDownLatch countDownLatch;
 private Random random;

 public Worker(int id, CountDownLatch countDownLatch) {
  this.id = id;
  this.countDownLatch = countDownLatch;
 }

 @Override
 public void run() {
  dowork();
  countDownLatch.countDown();
 }

 private void dowork() {
  System.out.println("Thread with id " + this.id + " is Running .....");
  try {
   Thread.sleep(1000);
  } catch (InterruptedException e) {
   e.printStackTrace();
  }
 }

}


Alert Dialog box in android using Kotlin


A subclass of Dialog that can display one, two or three buttons. If you only want to display a String in this dialog box, use the setMessage() method.  Most frequently using part is creating alert dialog box during application development. Here we are going to develop alert dialog using kotlin.


Here is simle kotlin code:


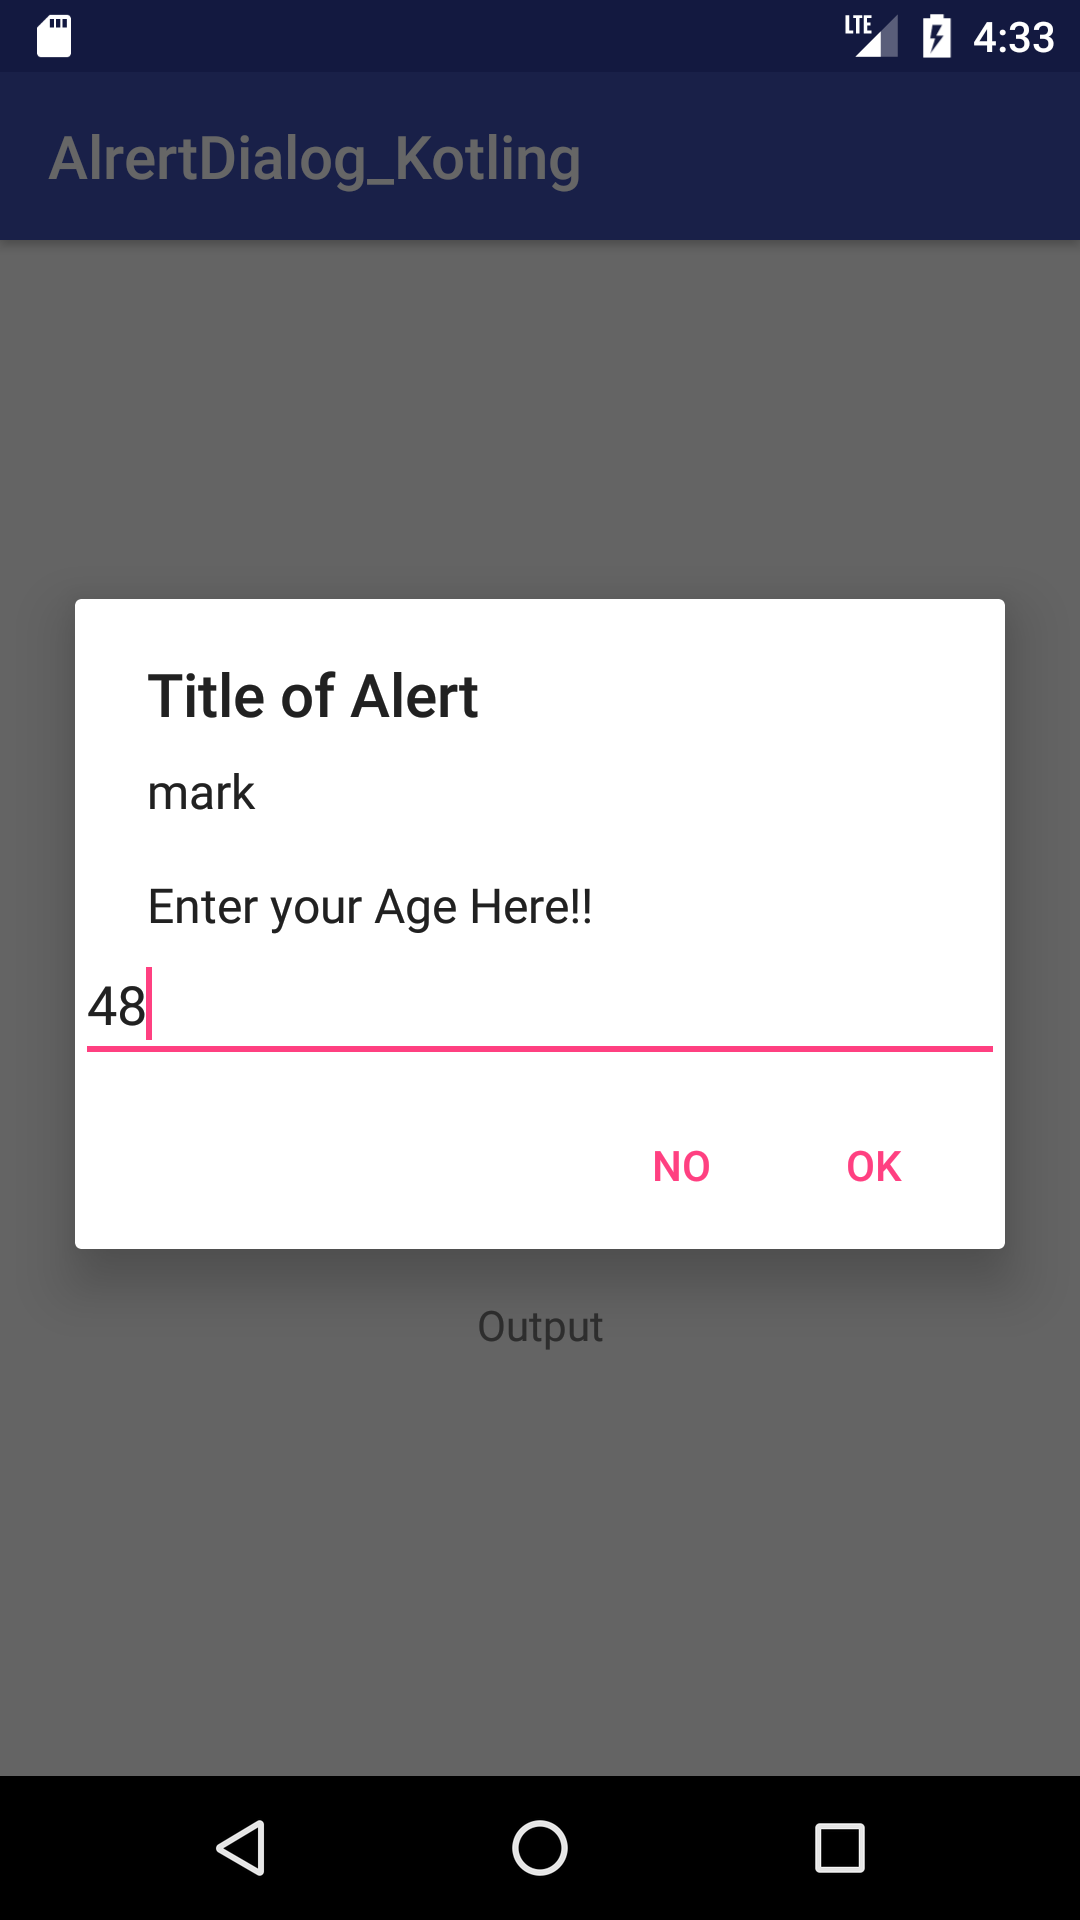
and output looks like:


I hope you are enjoying simple code than java for making alert dialog box with take and give inputs.

full code: https://goo.gl/rJLyc7

#HappyCoding #ILoveKotlin #PrAndroid