Regular Expression Example in KOTLIN - Check EMAIL address and more


Represents a compiled regular expression. Provides functions to match strings in text with a pattern, replace the found occurrences and split text around matches.

Here are some examples;


1. Check Email address valid or not (using matches )

println(".....email pattern check....")
val emails = listOf("abc_d@gmail.com", "test!@hotmail.com","abc_d@mailcom",
"343434ffsdkfs#mail", "p6060606@gmail.com","_testmaail$@last.com")

val emailPattern = "[a-zA-Z0-9._-]+@[a-zA-Z0-9-]+\\.[a-zA-Z.]{2,18}".toRegex()

emails.forEach { email ->
if (emailPattern.matches(email)) {
println("$email matches")
} else {
println("$email does not match")
}
}

output:

/* .....email pattern check....
abc_d@gmail.com matches
test!@hotmail.com does not match
abc_d@mailcom does not match
343434ffsdkfs#mail does not match
p6060606@gmail.com matches
_testmaail$@last.com does not match
*/

2.  Find the exact substring(partially word) inside the words in list

 - containsMatchIn

matches

val testWords = listOf("test", "testified", "testing", "techtest",
"exam","labtest", "roadtest", "protest", "tstom", "testimonials")

val pattern = "test".toRegex()

println("*********particular sub string inside the string************")
println("containsMatchIn function")

testWords.forEach{ word ->
if(pattern.containsMatchIn(word)){
println("$word matches")
}else{
println("$word not matches")
}
}


println("********* exact string to another string ************")
println("matches function")

testWords.forEach { word ->
if (pattern.matches(word)) {
println("$word matches")
}else{
println("$word not matches")
}
}

output

/**********particular sub string inside the string************
containsMatchIn function
test matches
testified matches
testing matches
techtest matches
exam not matches
labtest matches
roadtest matches
protest matches
tstom not matches
testimonials matches
********* exact string to another string ************
matches function
test matches
testified not matches
testing not matches
techtest not matches
exam not matches
labtest not matches
roadtest not matches
protest not matches
tstom not matches
testimonials not matches */

3. Find only only from the string or sentence - findAll

findAll
println("....find only numbers.....")
val findNumInText = "Use numerals, however, when the number modifies a unit of measure, time, proportion, etc.: 2 inches, 5-minute delay, 65 mph, 23 years old, page 23, 2 percent. "

val patternN = "\\d+".toRegex()
val founds = patternN.findAll(findNumInText)

founds.forEach { num ->
val foundValue = num.value
println(foundValue)
}

output

/*....find only numbers.....
2
5
65
23
23
2*/

4. Find particular word and its indices in sentence 

println("...Find particular word and its indices in sentence...using\\\\b operator......")
val sent = "But you never know now do you now do you now do you."
val patternIs = "\\byou\\b".toRegex()
val matchesIS = patternIs.findAll(sent)
matchesIS.forEach { word ->
val value = word.value
val index = word.range
println("$value found at indexes: $index")
}

output:

/* ...Find particular word and its indices in sentence...using\\b operator......
you found at indexes: 4..6
you found at indexes: 26..28
you found at indexes: 37..39
you found at indexes: 48..50
*/


If you want know more about regex, please check out this: 

https://kotlinlang.org/api/latest/jvm/stdlib/kotlin.text/-regex/

https://docs.oracle.com/javase/8/docs/api/java/util/regex/Pattern.html


Sorting Array, List, Custom Object and Dates in Kotlin

 Here is some sorting example in KOTLIN.

Sorting Array using ArrayOf

----------

fun sortedArrayOf() {
val array1 = arrayOf(44,6,1,9,23,11,5,19,3)
array1.sort()
println("Sorted array : ${array1.contentToString()}")
}
//output
/*
Sorted array : [1, 3, 5, 6, 9, 11, 19, 23, 44]
*/

IntArray Sorting

----------

fun sortingByIntArray() {
val intArray = intArrayOf(4, 3, 2, 1)
intArray.sort()
println(intArray.joinToString())
// output : 1, 2, 3, 4
}

 Sorting Alphabetically String Array

---------

fun sortingByAlphabetically() {
val stringArray = mutableListOf("ccc", "aab","aaa", "zzz", "bbb")
val tempSortedList = stringArray.sortedWith(compareBy { it }) //it.first() is for first letter only
println("Sorted by ascending: $tempSortedList")
//output: Sorted by ascending: [aaa, aab, bbb, ccc, zzz]
}


Get the first element of String Array

---------

fun getFirstDataOfList() {
val stringArray = mutableListOf("ccc", "aab","aaa", "zzz", "bbb")
val firstElement = stringArray.first()
println("First Element: $firstElement")
//output : First Element: ccc
}

Sorting Date Ascending

---------

fun sortingByDates() {
val dates = mutableListOf(
Date(2020, 3, 8),
Date(2022, 8, 16),
Date(2020, 1, 30),
Date(1999, 1, 5)
)
//useing sortBy
dates.sortBy { it.toString() }
dates.forEach { println(it) }
println(".........")
//using sortWith
dates.sortWith(compareBy<Date> { it.year }.thenBy { it.month }.thenBy { it.day })
dates.forEach { println(it) }
//for descending: dates.reverse()
println(".........")
//using sortedWith
val sortedDates = dates.sortedWith(compareBy<Date> { it.year }.thenBy { it.month }.thenBy { it.day })
sortedDates.forEach { println(it) }
//use for descending .reversed()
}

data class Date(val year: Int, val month: Int, val day: Int)

//output
/*
Date(year=1999, month=1, day=5)
Date(year=2020, month=1, day=30)
Date(year=2020, month=3, day=8)
Date(year=2022, month=8, day=16)
.........
Date(year=1999, month=1, day=5)
Date(year=2020, month=1, day=30)
Date(year=2020, month=3, day=8)
Date(year=2022, month=8, day=16)
.........
Date(year=1999, month=1, day=5)
Date(year=2020, month=1, day=30)
Date(year=2020, month=3, day=8)
Date(year=2022, month=8, day=16)
*/


Sorting Ascending array by adding manually 

---------

fun sortByAddingManually() {
val stringList: MutableList<String> = ArrayList()
stringList.add("ccc")
stringList.add("aab")
stringList.add("aaa")
stringList.add("zzz")
stringList.add("bbb")
stringList.sortBy { it }
stringList.forEach { println(it) }
}
//output
//aaa
//aab
//bbb
//ccc
//zzz


Sorting by custom object

---------------------------

fun sortedCustomObject() {
val persons: MutableList<People> = ArrayList()
persons.add(People("ABC", 61))
persons.add(People("XZY", 30))
persons.add(People("ABB",61))
persons.add(People("XYZ",30))
persons.add(People("ABZ",61))

println(".....Sorted Overall Object.....")
persons.sortBy { it.toString() }
persons.forEach { println(it) }
println(".....Sorted First Name and then Age.....")
val sortedListName = persons.sortedWith(compareBy({ it.name }, { it.age }))
sortedListName.forEach { println(it) }
println(".....Sorted First Age and then Name.....")
val sortedListAge = persons.sortedWith(compareBy({ it.age }, { it.name }))
sortedListAge.forEach { println(it) }
println(".....Sorted First Age and then Name...thenBy....")
persons.sortedWith(compareBy<People> { it.name }.thenBy { it.age })
persons.forEach { println(it) }
println(".....using lambda...")
persons.sortBy { person -> person.age}
persons.forEach { println(it) }

}
data class People(val name:String, val age: Int)

//output
/*
.....Sorted Overall Object.....
People(name=ABB, age=61)
People(name=ABC, age=61)
People(name=ABZ, age=60)
People(name=XYZ, age=30)
People(name=XZY, age=30)
.....Sorted First Name and then Age.....
People(name=ABB, age=61)
People(name=ABC, age=61)
People(name=ABZ, age=60)
People(name=XYZ, age=30)
People(name=XZY, age=30)
.....Sorted First Age and then Name.....
People(name=XYZ, age=30)
People(name=XZY, age=30)
People(name=ABZ, age=60)
People(name=ABB, age=61)
People(name=ABC, age=61)
*/

More details:

https://kotlinlang.org/api/latest/jvm/stdlib/kotlin.collections/sorted.html

I will try to adding more frequently, please keep visiting this blog.


Better to use Parcelize rather then the Parcelable in Kotlin


Kotlin added parcelable support in version 1.1.4. Here we can  kotlin-android-extensions toimplement Parcelable in much simpler way using @Parcelize and Parcelable.

Interface for classes whose instances can be written to and restored from a Parcel. Classes implementing the Parcelable interface must also have a non-null static field called CREATOR of a type that implements the Parcelable.Creator interface.

First step to use parcelize is add extension to build.gradle file

androidExtensions {
  experimental = true
}

Must have to declare the serialized properties in a primary constructor and add a @Parcelize annotation, and writeToParcel()/createFromParcel() methods will be created automatically.

Here is the code with Parcelable, which can be used both class or data class.

data class State(val code: String?, val name: String) : Parcelable {
   
   constructor(source: Parcel) : this(
           source.readString(),
           source.readString()!!
   )

   override fun describeContents() = 0

   override fun writeToParcel(dest: Parcel, flags: Int) = with(dest) {
       writeString(code)
       writeString(name)
   }

   companion object {

       fun create(name:String) = State(code = null, name = name)

       @JvmField
       val CREATOR: Parcelable.Creator<State> = object : Parcelable.Creator<State> {
           override fun createFromParcel(source: Parcel): State = State(source)
           override fun newArray(size: Int): Array<State?> = arrayOfNulls(size)
       }
   }
}

Which can be simplified using @Parcelize, that is much more robust and removing lots of boilerplate code.

@Parcelize
data class State(
   val code: String?,
   val name: String
) : Parcelable {

   companion object {
       fun create(name: String) = State(code = null, name = name)
   }
}

Here you can use @Parcelize both data class and class and compainion object is optional, either you can use only if necessary, other wise it looks like even more simpler.

@Parcelize
data class State(
   val code: String?,
   val name: String
) : Parcelable

You can also use @Parcelize in enum too,

enum class Married {
    YES, NO
}

@Parcelize
class Employee(var isMarried: Married) : Parcelable

Thanks and Happy Coding !!!


Curtesy:


Val and Var in Kotlin


Variables defined with var are mutable(Read and Write)
Variables defined with val are immutable(Read only)

Simply, var (mutable) and val (immutable values like in Java (final modifier)

var x:Int=3
x *= x

//gives compilation error (val cannot be re-assigned)
val y: Int = 6
y*=y

val and var both are used to declare a variable. 


var is like general variable and its known as a mutable variable in  
kotlin and can be assigned multiple times.   
 
val is like constant variable and its known as immutable in 
kotlin and can be initialized only single time.

Meetup - Kotlin Nights


Kotlin Night is a meetup that includes 3-4 talks on Kotlin or related technologies. At JetBrains we've organised a few events: Kotlin Night San Francisco and Kotlin Night London.
The community however is asking for more Kotlin Nights and are willing to organise these themselves. Here you would find guidelines and some hints on putting things together.

You can , submit your Kotlin Night to get support and inform about your upcoming event.

Guidelines

  • Please, stick with the design materials. It will help to have all events and materials with the same style
  • Kotlin Night should be a free event. A minimal fee can be charged to assure assistance but it is still a non-profit event.
  • The event should be published and available publicly for all people to attend without any kind of discrimination.
  • The contents of the talks should be made public online after the event without requiring sign-up or registration to access these.
  • Recording is optional but recommended and should also be made available
  • The talks should be primarily about Kotlin and not a focus on marketing or sales
  • The event can serve food and/or drinks optionally
Download design materials

Organiser is Responsible for

  1. Location and all required event production, including comfortable venue. Please, make sure
    • all the participants are aware of the exact date, place and starting time of the event. It’s good tone to have at least 30 minutes before your event for the participants gathering;
    • there is enough place as well as food and beverages, in case you provide, for everyone.
    • you have a plan with your speakers: schedule, topics and abstracts of the talks, equipment for the presentations.
    • If you’d like to organise recording of the talks, plan it in advance to get a better quality
  2. Content and speakers
    • Feel free to invite people with talks from your local community, from the neighbour countries or even from all over the globe. You don’t have to to have any JetBrains representative or speaker at your event. However we would be glad to learn about one more kotlin NIght, so feel free to notify us.
  3. Announcements and promotion
    • Announce your event at least 3 weeks before the date of a meetup
    • Add timeline, topics, abstracts and speakers bios to the announcement
    • Spread the word in social media
  4. Registration and Fee Processing handling
    • Make sure that you are able to receive fees or/and sponsor money properly. You might need to partner with an official entity to do this.
  5. Event material to JetBrains post-event
    • We are glad to announce your event at kotlinlang.org and will appreciate if you provide slides and video materials for follow up posting.

JetBrains Provides Support

  • Access to Kotlin Night Branding which includes name, logos and video intros
  • Merchandise such as Stickers and T-Shirts for the Speakers, small souvenirs for the attendees
  • Promotion of the event via our Social Media Channels
  • Listing of the event on the Kotlin Events Page
  • If required, reaching out to speakers to take part in event
  • If possible helping with finding location (via contacts, etc.)
  • As well as helping with possible partnership with local businesses.

If you are looking for the detailed guideline for event organising, you can upload this documents with more detailed instructions

All the resource and content source from official kotlin website  Kotlin Night
if something went wrong with content, we are not responsible for this.

Hurry Up, Earn a Developer Scholarship from Google!


What you will get and what they provides

How it Works

To apply for a scholarship, you need to be at least 18 years old and live in the US. You'll begin by choosing your learning path, either Web Developer or Android Developer. From there, once you're accepted, we'll place you in one of two tracks, depending on your existing skills and experience, either Beginner or Intermediate. After that, the learning begins! Finally, top students from each track will earn full scholarships to one of our Android or Web Development Nanodegree programs.


25,000 Web Developer seats available!

If accepted, you'll be placed into one of two tracks based on your experience level.


Click here below to get more details about course


How to Apply
  • Icon calendar blue  Applications Due - November 30, 2017
  • Icon leaderboard blue Recipients notified - December 7, 2017
  • Icon console blue  Recipients begin program - December 11, 2017
The application is straightforward, and should take 10-15 minutes. There is a single application for all, whether you're interested in Mobile or Web, and whether you're a beginner or already have experience.

Answer what you can, to the best of your ability, and we'll do the rest! Remember this application is open to residents of the US who are at least 18 years old.

Apply by November 30, 2017 (8:59pm PST)


Kotlin Conference Nov 2-3 at San Francisco


KotlinConf is just around the corner, and if you haven’t checked out the great speaker line-up and sessions, you might want to do that now! We’ve got two days jam-packed with content around Kotlin, whether you’re doing mobile, desktop, server-side or web front-end development, there are lots of talks for you.


Schedule for the workshop:


9:00 am - 5:00 pm
Kotlin Workshop for Java Developers.
Svetlana Isakova
Max capacity 50

Oreo: Auto-sizing Textview in Android Studio using Kotlin


Android 8.0 (API level 26) allows you to instruct a TextView to let the text size expand or contract automatically to fill its layout based on the TextView's characteristics and boundaries. This setting makes it easier to optimize the text size on different screens with dynamic content.

First important part to enable auto sizing textview, put this in textview:

android:autoSizeTextType="uniform"

This can explore the vertically and horizontally, ignoring text size.

If you are using support library make sure you have to use:

xmlns:app="http://schemas.android.com/apk/res-auto"

You can not use wrap content both layout height and width, because that may produce unexpected result, instead match parent or fix size. 

You can use either framework or support library to set up the autosizing of TextView programmatically or in XML. To set the XML attributes, you can also use the Properties window in Android Studio.
There are three ways you can set up the autosizing of TextView:


Note: If you set autosizing in an XML file, it is not recommended to use the value "wrap_content" for the layout_width or layout_height attributes of a TextView. It may produce unexpected results.

Now, if you are using from xml, the do following :


If you want make from programmatically then do this:


Here are array inside the values/arrays.xml, please make sure name should be same as in textview properties.


Here is the simple output that looking like:
Clone/Download/Fork/Star Full Source Code From github

Source:  Developer.android.com
#ILoveKotlin #PrAndroid #KotlinTutorials #AndroidTutorials

Robolectric example in Android using kotlin


Robolectric is a unit test framework that de-fangs the Android SDK jar so you can test-drive the development of your Android app. Tests run inside the JVM on your workstation in
seconds. Robolectric help to make more efficient unit test.

Here are example how to test android code using robolectric.

First you have to add dependencies in app.gradle file,just like that as your latest robolectric version

testImplementation "org.robolectric:robolectric:3.3.2"

Now you have to write code in test file in unit testing section not in ui testing,


Then, Now you have add some kotlin code,


In Second kotlin code, which is pass some value from on activity one activity to another activity,


Rest of the layout file as your requirement, but you want to details, please see below git hub link
Run as test runner,

the you have to see, test will be passed.

Download and fork git hub code: https://github.com/dharmakshetri/RoboelectricKotlinExample

#HappyCoding #Kotlin #Robolectric #Android

Udacity: Self-Driving Cars Scholarship Program


Lyft and Udacity share a commitment to preparing for an autonomous future where technologies like self-driving cars will benefit our cities, our environment, and our lives. We are committed to making that future more accessible to all—through education programs, open platforms, and now scholarships. This scholarship program is dedicated to increasing diversity in the field of self-driving cars, and helping you take that first step to becoming a self-driving car engineer.       


How to apply

This scholarship program is open to learners with varying levels of experience, currently living in the U.S., who are eager to pursue a career in self-driving cars.
  • September 19, 2017 - Applications open
  • October 1, 2017 - Applications close (11:59pm PST)
  • October 5, 2017 - Winners announced


#Udacity #SelfDrivingCar
      All the resources and content taken from: udacity.com

Display iframe video and graph inside the webview in kotlin

A View that displays web pages. This class is the basis upon which you can roll your own web
browser or simply display some online content within your Activity. It uses the WebKit rendering engine to display web pages and includes methods to navigate forward and backward through a history, zoom in and out, perform text searches and more.


Note that, in order for your Activity to access the Internet and load web pages in a WebView, you must add the INTERNET permissions to your Android Manifest file:


<uses-permission android:name="android.permission.INTERNET" />
This must be a child of the <manifest> element.
Define the webview respective webSetting an its java script enable.

and iframe source 


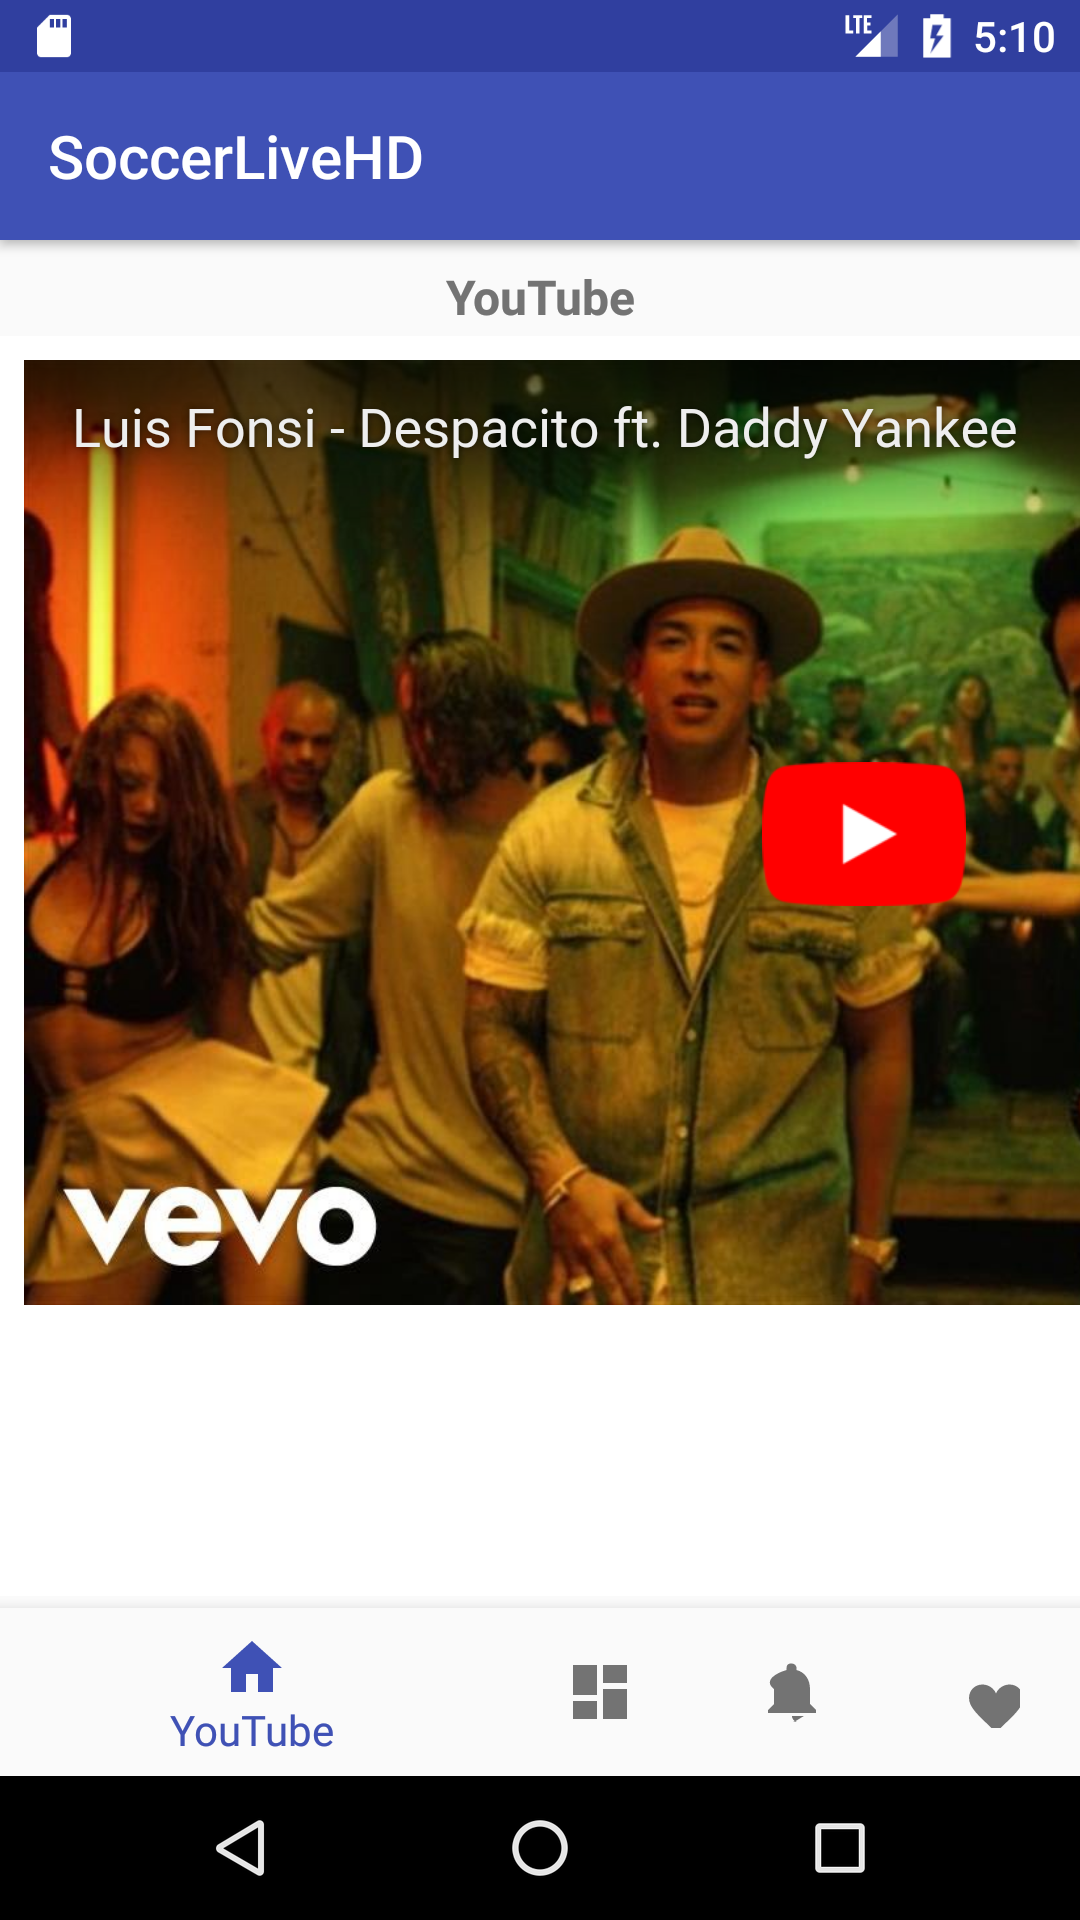
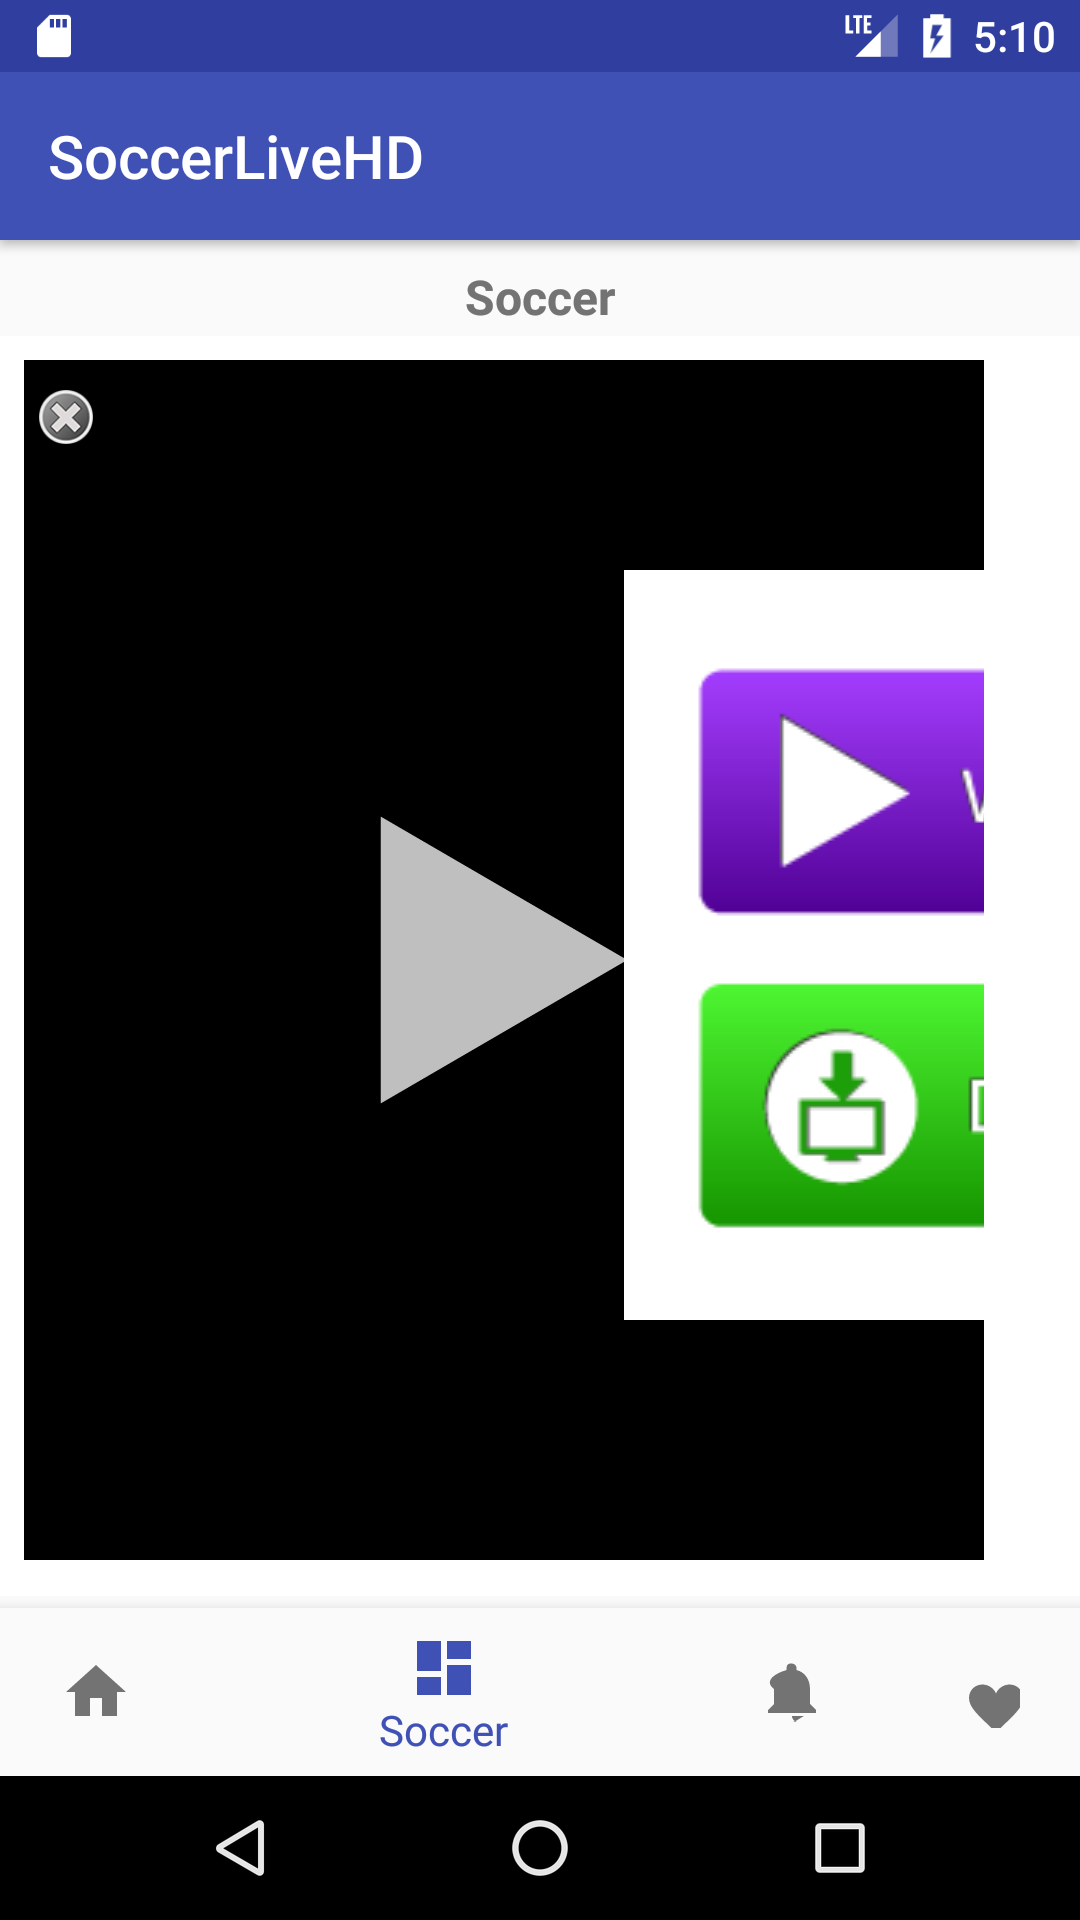
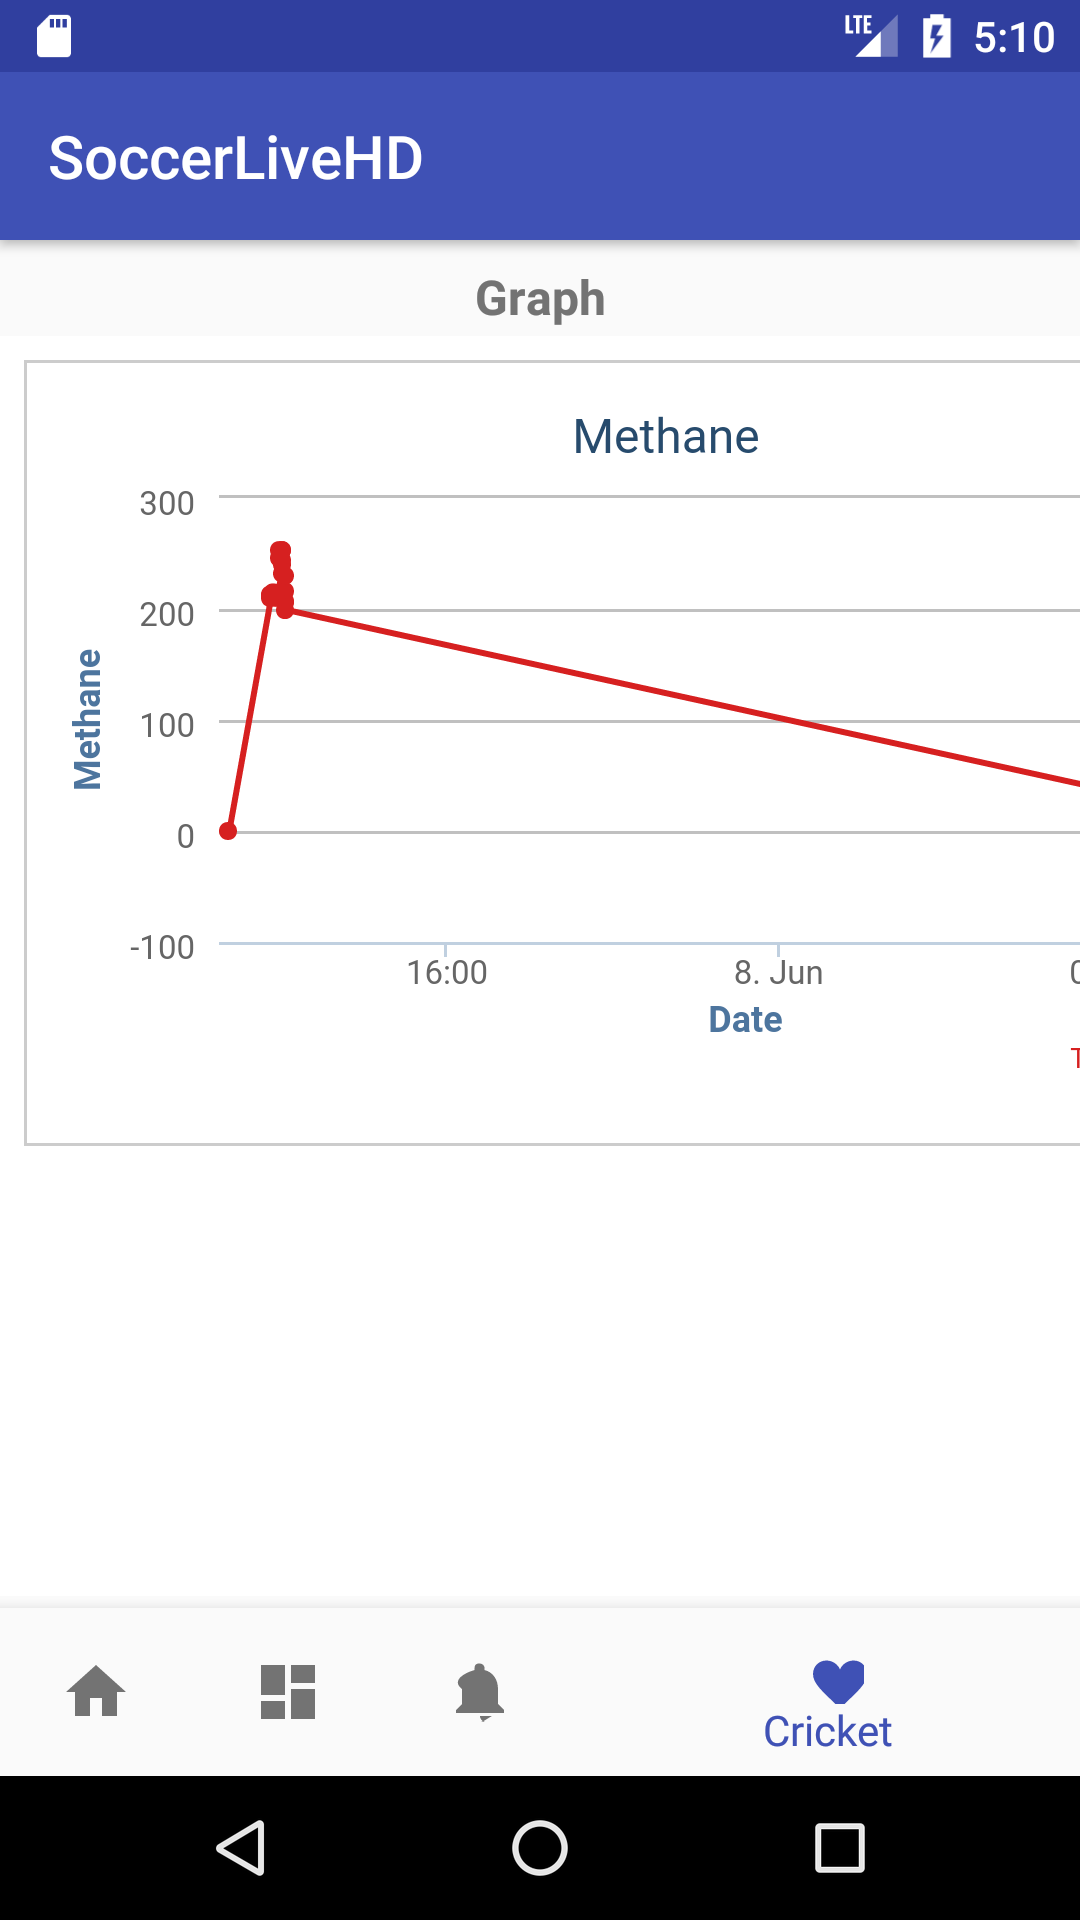
Output looks like:


#HappyCoding #ILoveKotlin #PrAndroid
Download and fork full source code: https://github.com/dharmakshetri/IFrameVideo

Advanced Multi Threading in Java [ Latch ]

CountDown latch is one of the kinds of synchronizer which wait for another thread before performing the tasks or This is used to synchronize one or more tasks by enabling them to wait for the tasks completed by other tasks.  It was introduced in Java 5 along with other CyclicBarrier, Semaphore, CuncurrentHashMap and BlockingQueue. Its somehow like the wait and notify but in the more simpler form and will much less code.

It basically works in the latch principle. Or let us suppose we have a seller who is going to sell 10 (No. of operations) apples. The number of customers may be anything but what the seller is concerned about is the number of apples because when it reaches to 0 he can go home. The seller(Main Thread) will wait for the customers (awaits()). Let's say there are 10 customers(Threads) now who are in the line to buy Apple. When one customer buys that Apple then the number of apple decrease by 1 (countdown()) and another customer will get a chance to buy that apple so on the number of apples goes on decreases and finally become 0. After no apples left in the bucket, the seller can stop selling and go home happily. 

Note:: In CountDown Latch the countdown cannot be reset. 

Let's have a look at Java code::

package com.latch;

import java.util.Random;
import java.util.concurrent.CountDownLatch;
import java.util.concurrent.ExecutorService;
import java.util.concurrent.Executors;

/**
 * Created by yubraj on 1/16/17.
 */


public class latch {

 public static void main(String[] args) {
  ExecutorService executorService = Executors.newSingleThreadExecutor();
  CountDownLatch countDownLatch = new CountDownLatch(5);

  for (int i = 0; i < 5; i++)
   executorService.execute(new Worker(i, countDownLatch));

  try {
   countDownLatch.await();
  } catch (InterruptedException e) {
   e.printStackTrace();
  }

  System.out.println("All the prerequities are done now the application is ready to run yuppy!!!");
  executorService.shutdown();

 }

}

class Worker implements Runnable {
 private int id;
 private CountDownLatch countDownLatch;
 private Random random;

 public Worker(int id, CountDownLatch countDownLatch) {
  this.id = id;
  this.countDownLatch = countDownLatch;
 }

 @Override
 public void run() {
  dowork();
  countDownLatch.countDown();
 }

 private void dowork() {
  System.out.println("Thread with id " + this.id + " is Running .....");
  try {
   Thread.sleep(1000);
  } catch (InterruptedException e) {
   e.printStackTrace();
  }
 }

}


Alert Dialog box in android using Kotlin


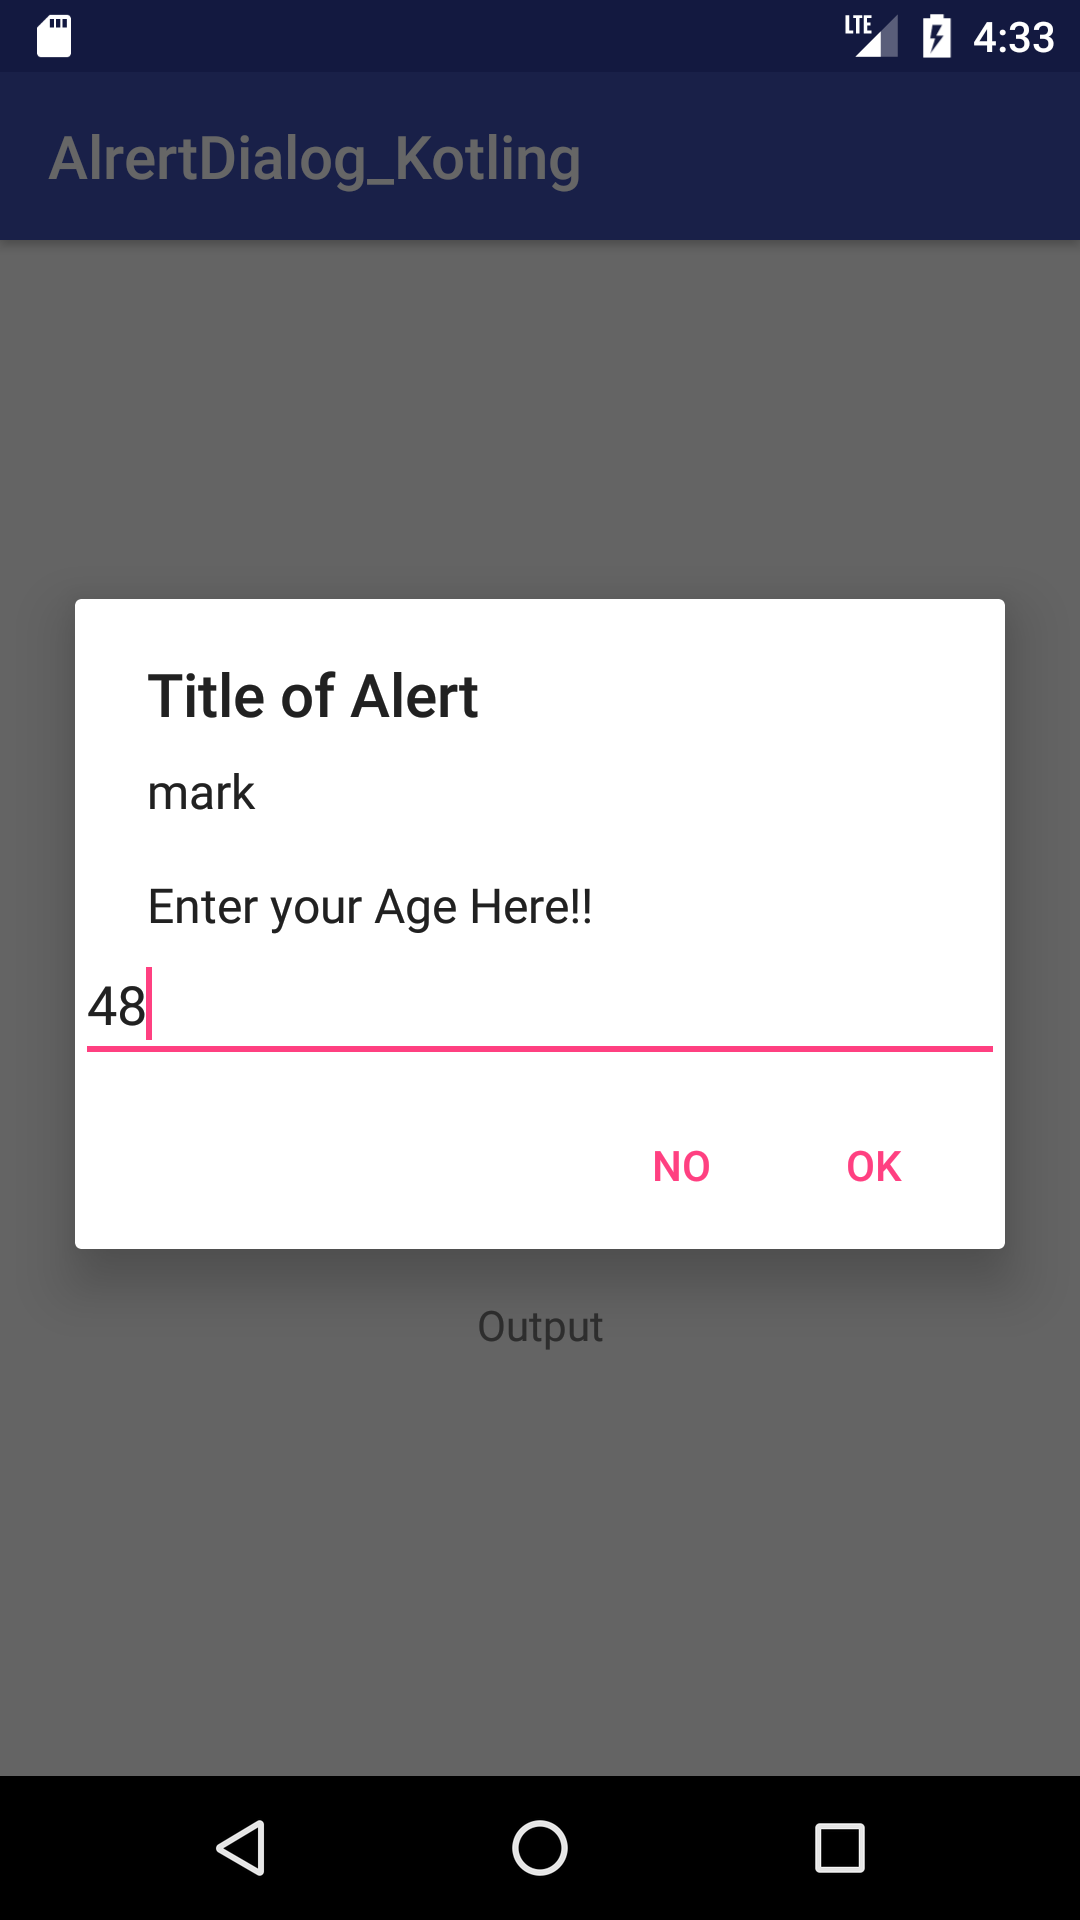
A subclass of Dialog that can display one, two or three buttons. If you only want to display a String in this dialog box, use the setMessage() method.  Most frequently using part is creating alert dialog box during application development. Here we are going to develop alert dialog using kotlin.


Here is simle kotlin code:


and output looks like:


I hope you are enjoying simple code than java for making alert dialog box with take and give inputs.

full code: https://goo.gl/rJLyc7

#HappyCoding #ILoveKotlin #PrAndroid

Solution: “Type inference failed” error by using "findViewById” in Kotlin

If you get any error when you are using kotlin and references views to kotlin, then most of time every developer faced  “Type inference failed” error  in Kotlin.

We have few option for such kind of error in kotlin,


var tvName = findViewById(R.id.txtName) as TextView

to
 
var tvName = findViewById<TextView>(R.id.txtName) 

You can use Kotlin Android Extensions too for that. Check the doc here.

Kotlin Android Extensions:

  • In your app gradle.build add apply plugin: 'kotlin-android-extensions'
  • In your class add import for import kotlinx.android.synthetic.main.<layout>.* where <layout> is the filename of your layout. for example activity_main
  • That's it, you can call TextView directly in your code.
Sometimes its works like this:

var tvName:TextView = findViewById(R.id.txtName) as TextView
If you are using Anko, then you have to do this:

var tvName:TextView = find(R.id.txtName)
Where bind internally work like this:

fun <T : View> Activity.bind(@IdRes res : Int) : T {
    @Suppress("UNCHECKED_CAST")
    return findViewById(res) as T}
More info:
https://kotlinlang.org/docs/tutorials/android-plugin.html
https://blog.jetbrains.com/kotlin/2015/04/announcing-anko-for-android/
https://developer.android.com/sdk/api_diff/26/changes.html
#HappyCoding #ILoveKotlin #PrAndroid

How to Install Crashlytics via Gradle in Android Studio and Kotlin

Crashlytics is the most powerful, yet lightest weight crash reporting solution.Spend less time finding and more time fixing crashes. Named the #1 performance SDK on both iOS and Android, Crashlytics provides deep and actionable insights, even the exact line of code your app crashed on.

First you have to signup in fabric.io.Then do following steps integrate crashlytics in android using kotlin.

1. Go To build.gradle(Project) and add following dependencies.


2. Go To build.gradle(App) and add following dependencies.


and click sync button on the top:

3. Now, Time to add some fabric key and give internet permission in manifest file


4. Then add following coding snippet in you code, where you want to be add crash.


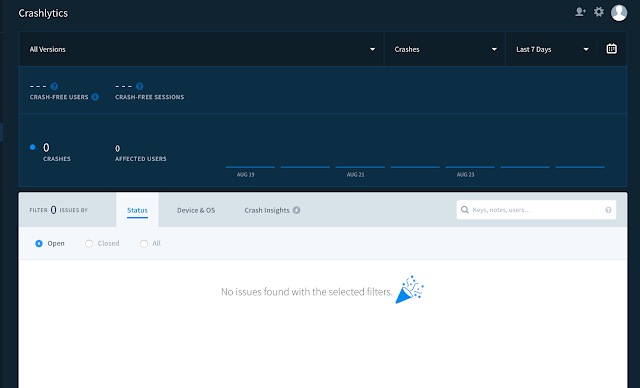
Now you got email and click view, Then you will get following screen in fabric.io,


Want to know more about installation in android, please visit : fabric.io
#HappyCoding #ILoveKotlin #PrAndroid